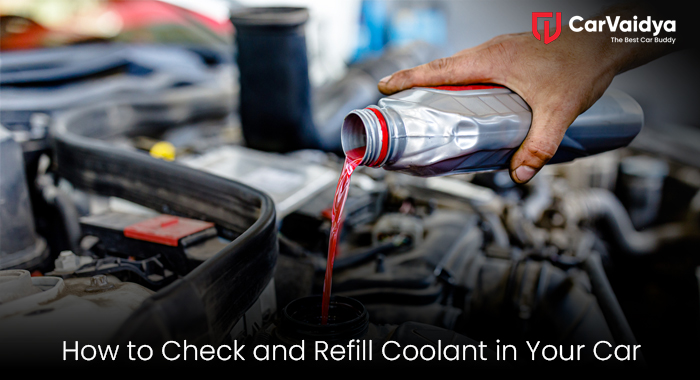
Importance of Coolant in Preventing Engine Overheating
Car coolant, also known as antifreeze, plays an important role in keeping your engine cool and preventing overheating in summer and freezing in winter. It circulates through the engine and radiator, absorbing extra heat and keeping the engine temperature in control. Without the right coolant level, your car's engine can get damaged, leading to expensive repairs.
What is Car Coolant?
Coolant is a mix of antifreeze and water that helps maintain the engine temperature and prevents rust and corrosion. There are different types of coolants:
- Inorganic Acid Technology (IAT) – Common in older cars, needs frequent replacement.
- Organic Acid Technology (OAT) – Used in newer cars, lasts longer.
- Hybrid Organic Acid Technology (HOAT) – A mix of IAT and OAT, found in modern cars.
Tip: Check your car’s manual to find out which coolant is best for your vehicle.
Things You Need Before Refilling Coolant
Before starting, gather these items
- Coolant (as per manufacturer recommendation)
- A funnel
- A clean cloth
- Gloves and safety glasses
- A coolant tester (optional)
- Distilled water (if using concentrated coolant)
Step-by-Step Guide to Checking and Refilling Coolant
Step 1: Let the Engine Cool Down
Never open the coolant reservoir when the engine is hot. Wait until it cools down completely to avoid burns from hot steam.
Step 2: Find the Coolant Reservoir
Open the car’s bonnet and locate the coolant tank. It is usually a transparent plastic container with MIN and MAX level markings.
Step 3: Check the Coolant Level
Look at the coolant level without opening the cap. If the fluid is below the MIN mark, you need to add more.
Step 4: Open the Reservoir Cap Safely
If needed, place a cloth over the cap and slowly open it to release any pressure.
Step 5: Add Coolant
Use a funnel to pour coolant into the reservoir up to the MAX line. If you are using concentrated coolant, mix it with distilled water (usually 50:50 ratio).
Step 6: Close the Cap Properly
Make sure the cap is tightly sealed to prevent leaks and maintain pressure in the cooling system.
Step 7: Check for Leaks
Start the car engine and let it run for a few minutes. Look under the car for any coolant leaks.
Common Mistakes to Avoid
- Adding Coolant to a Hot Engine – Can cause burns or engine damage.
- Using the Wrong Coolant – Always check your car manual.
- Overfilling Coolant – This can cause overflow and damage.
- Ignoring Leaks – A continuous drop in coolant level means possible leakage, which needs professional inspection.
How Often Should You Check and Change Coolant?
- Check the coolant level once a month.
- Replace coolant based on your car model:
- Older cars: Every 30,000 km or 2 years
- Newer cars: Every 60,000 km or 5 years
- Check your car’s manual for exact details.
DIY vs Professional Coolant Replacement Cost
- DIY Coolant Change: Costs around ₹1,500 – ₹3,000 (depending on coolant type)
- Professional Coolant Flush: Costs ₹3,500 – ₹6,000 (includes labor and system flush)
- If your coolant is very dirty or you have cooling system issues, a professional flush is a better choice.
Checking and refilling coolant is an easy but important part of car maintenance. By following these steps, you can prevent overheating, extend engine life, and save money on repairs. Regularly checking coolant levels and using the right coolant ensures your car runs smoothly in all seasons.
For professional car inspection and coolant maintenance, trust CarVaidya – your car expert!
You can read some other articles
How to Check the Service History of the Car
RTO Rules for Interstate Vehicle Transfer: Process & Importance
Leasing vs. Buying: Making the Right Decision for Your Business Vehicle


0 Comments